I hope everyone is having a great Sunday. Because my first Superman Cookie tutorial was such a popular post I decided to further explain how I did the cookie so that everyone has a better understanding. I also have a little surprise that I can’t wait to share with you! But for now let’s get started.
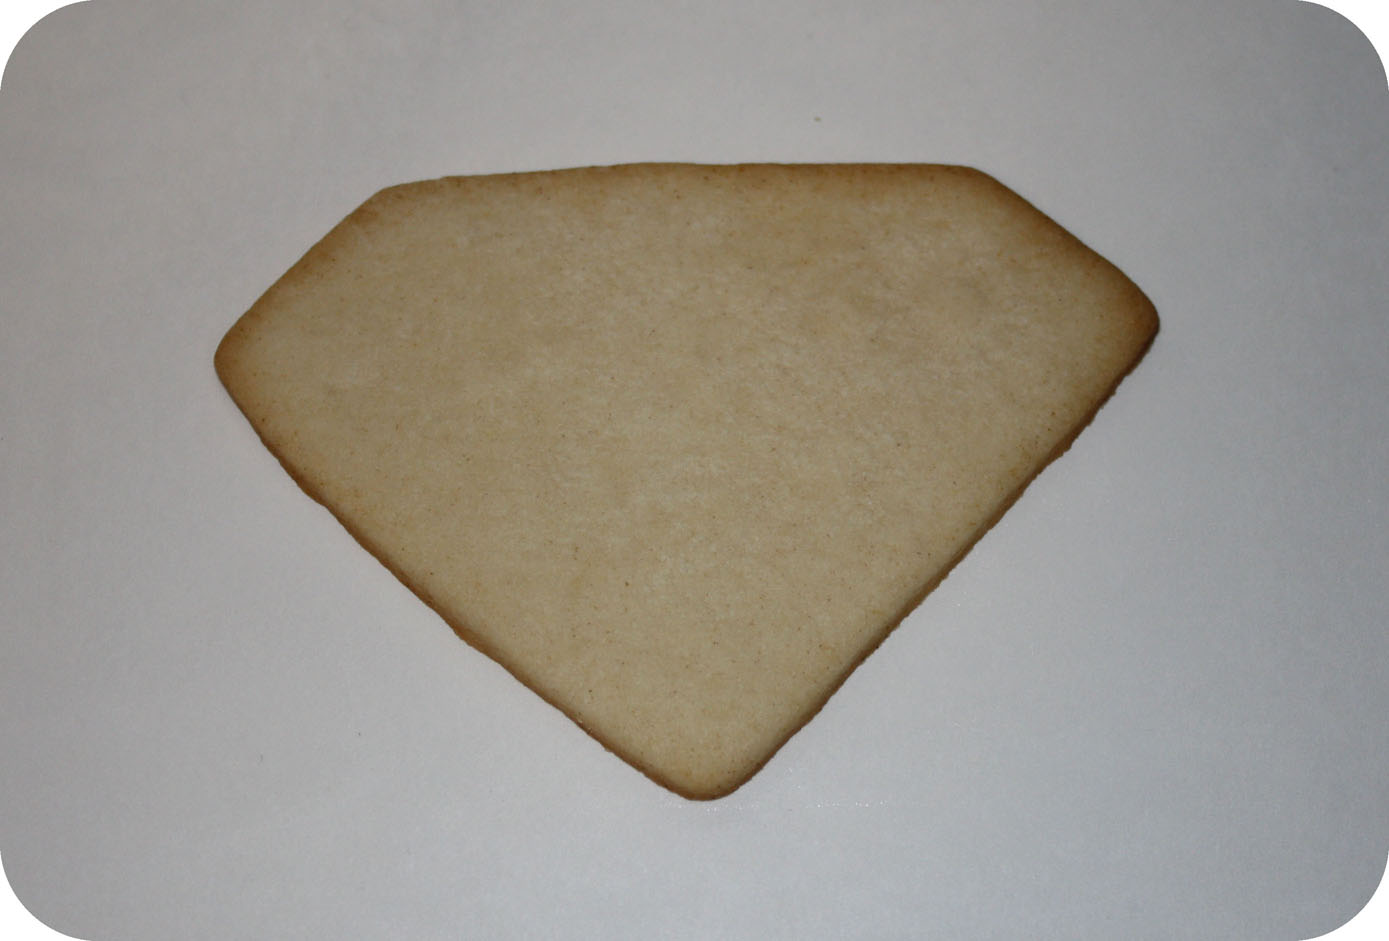
Bake and cool your cookies.
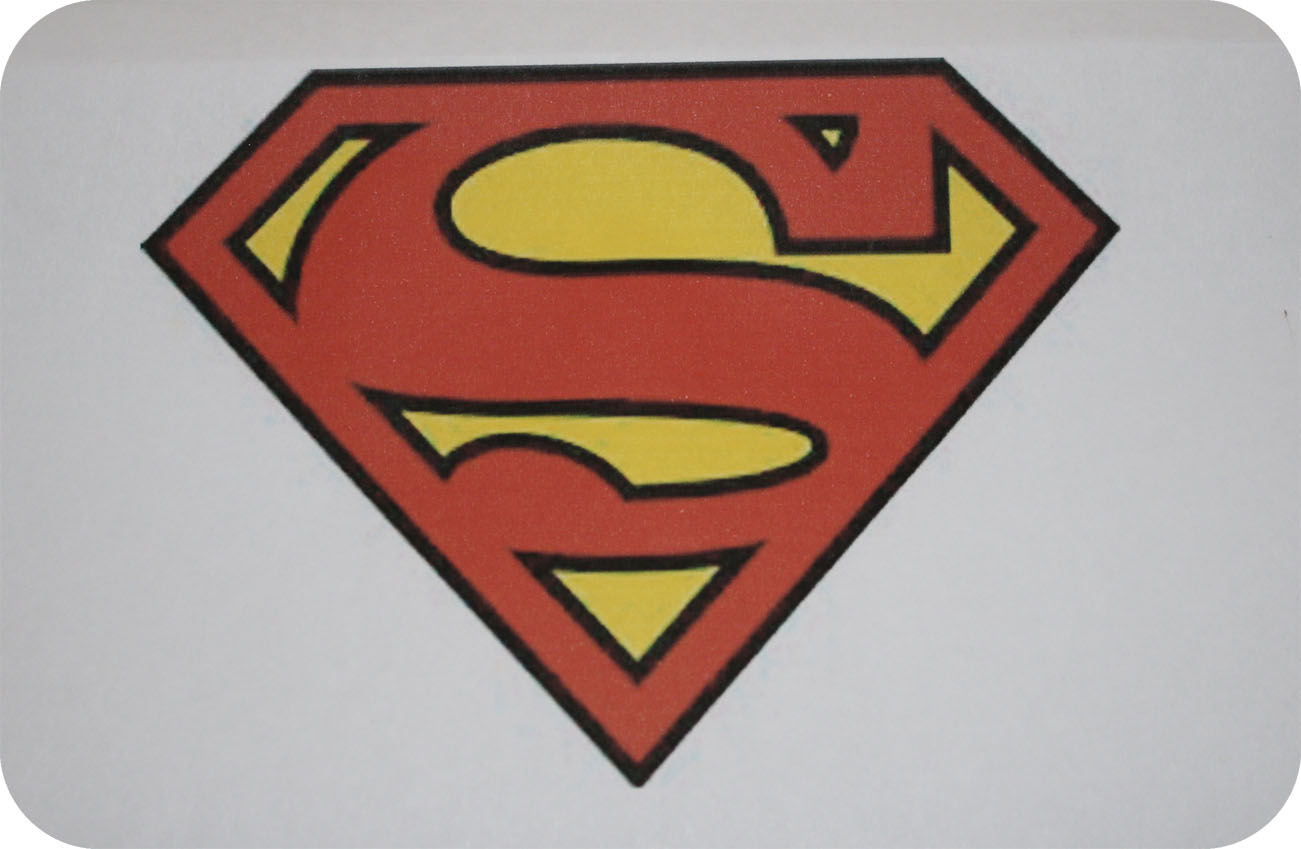
Once you have resized your image you can insert it into the Kopykake projector flap. Always remember to insert your image upside down.
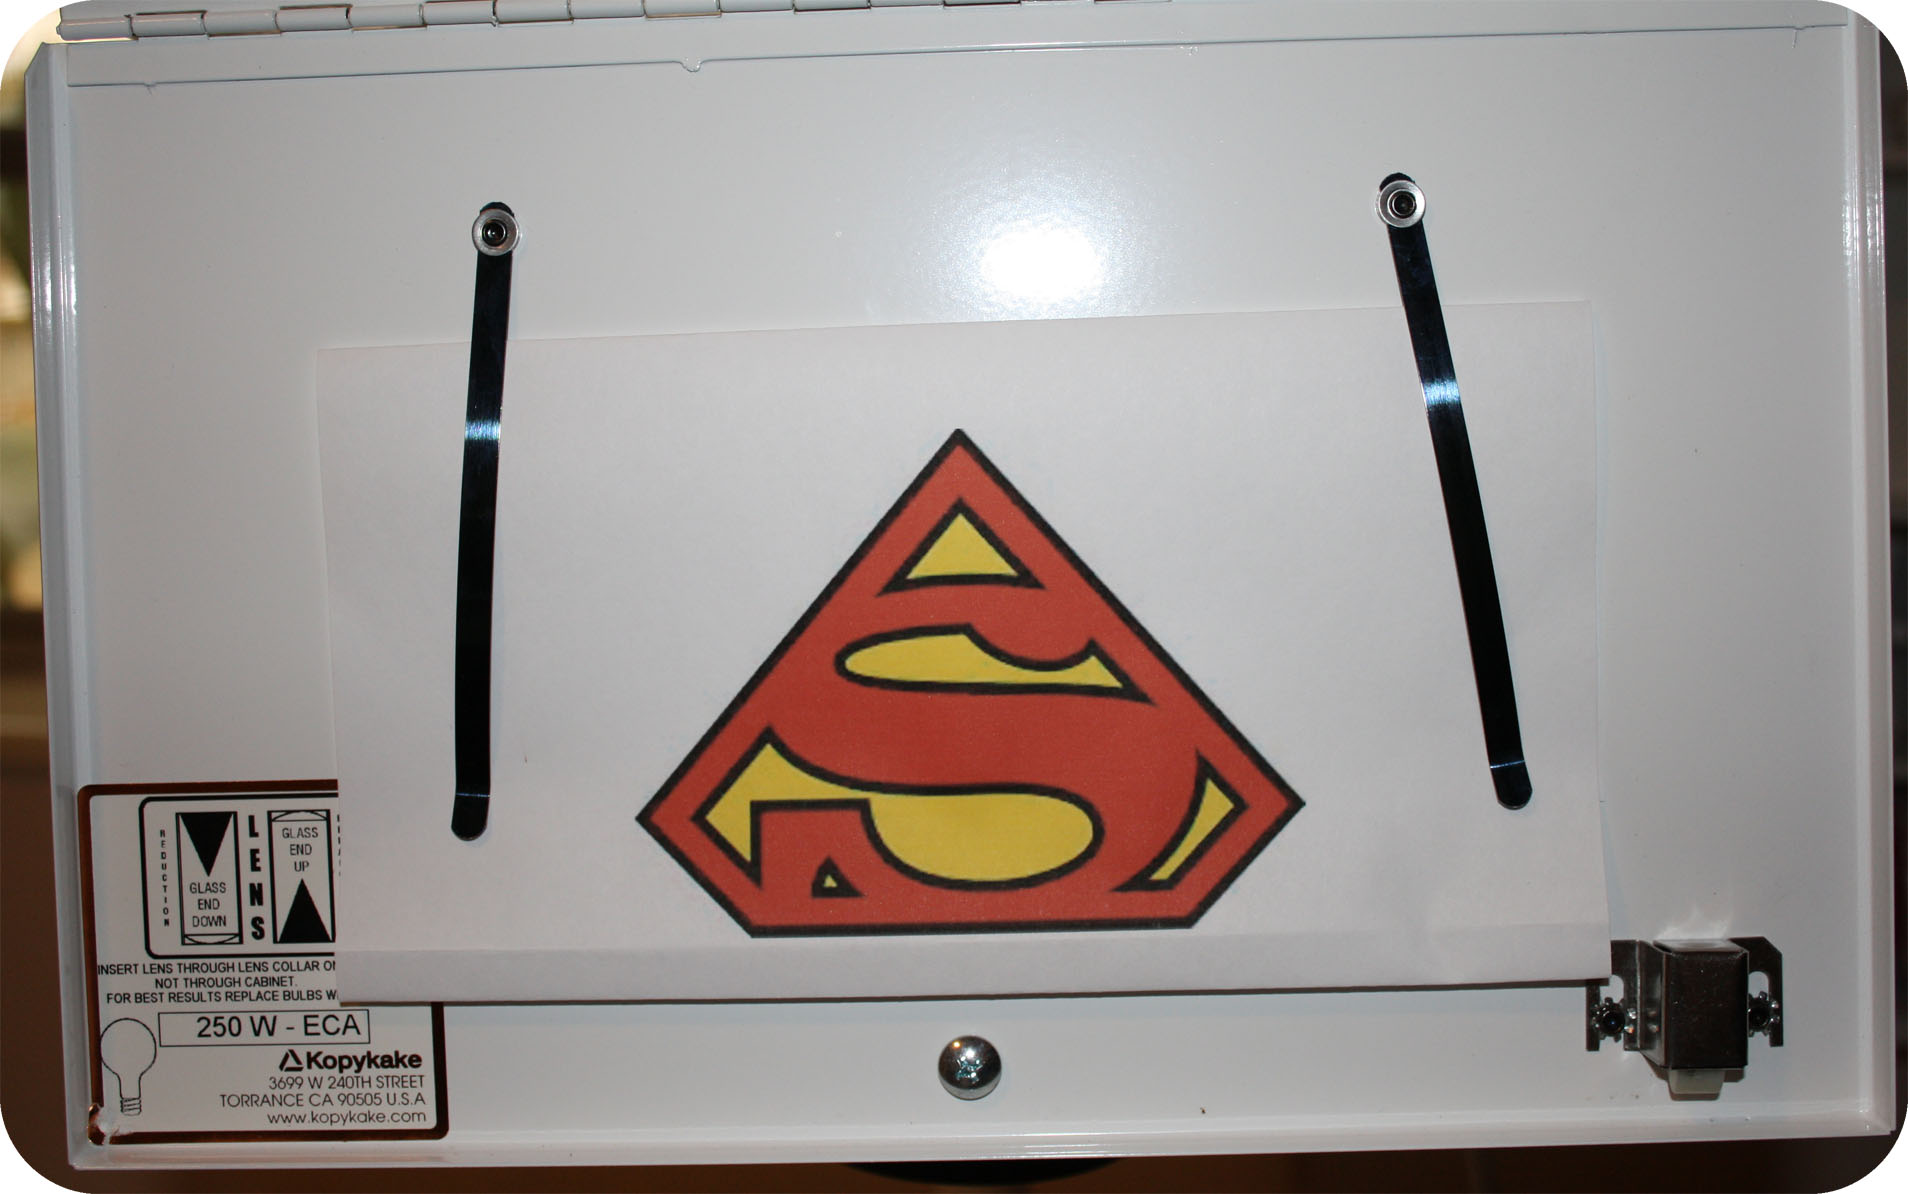
Close the Kopykake projector flap and turn on the Kopykake projector, align the image onto your cookie.

I started tracing the outside part of the image. I used a PME tip # 1.5
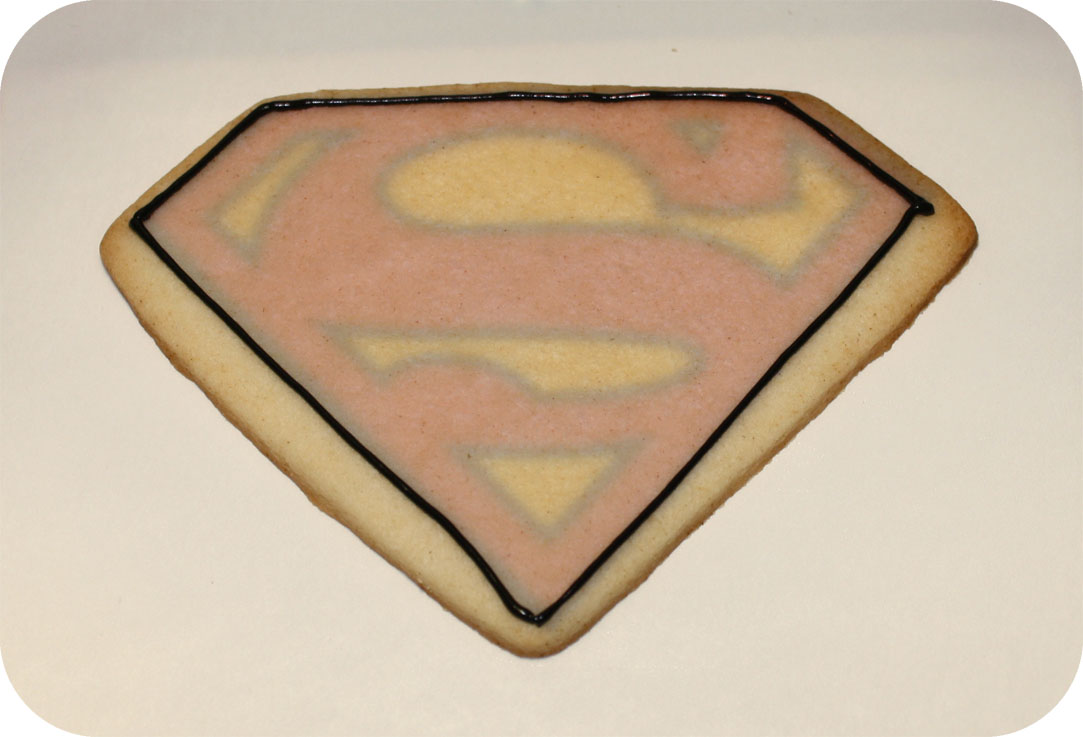

I waited about 15 – 20 minutes and then I flooded my cookie with yellow royal icing.

Then I flooded the remaining part with red royal icing.

Here is the finished Superman Cookie.

At the beginning of the post I told you that I had a surprise for everyone, well I will soon be posting a second Superman tutorial for anyone that doesn’t have a KopyKake projector!
Thank you for stopping by & stay sweet!

WHAAAAAAT? I have never seen this “projector” before! SO jealous! SOOOO Smart! Thanks for sharing 🙂