A couple of days ago I promised to post a 2nd (or should I say 3rd) Superman cookie tutorial. This tutorial is for anyone who doesn’t have a KopyKake Projector, I have to warn you this is very simple and you will be amazed by the results!
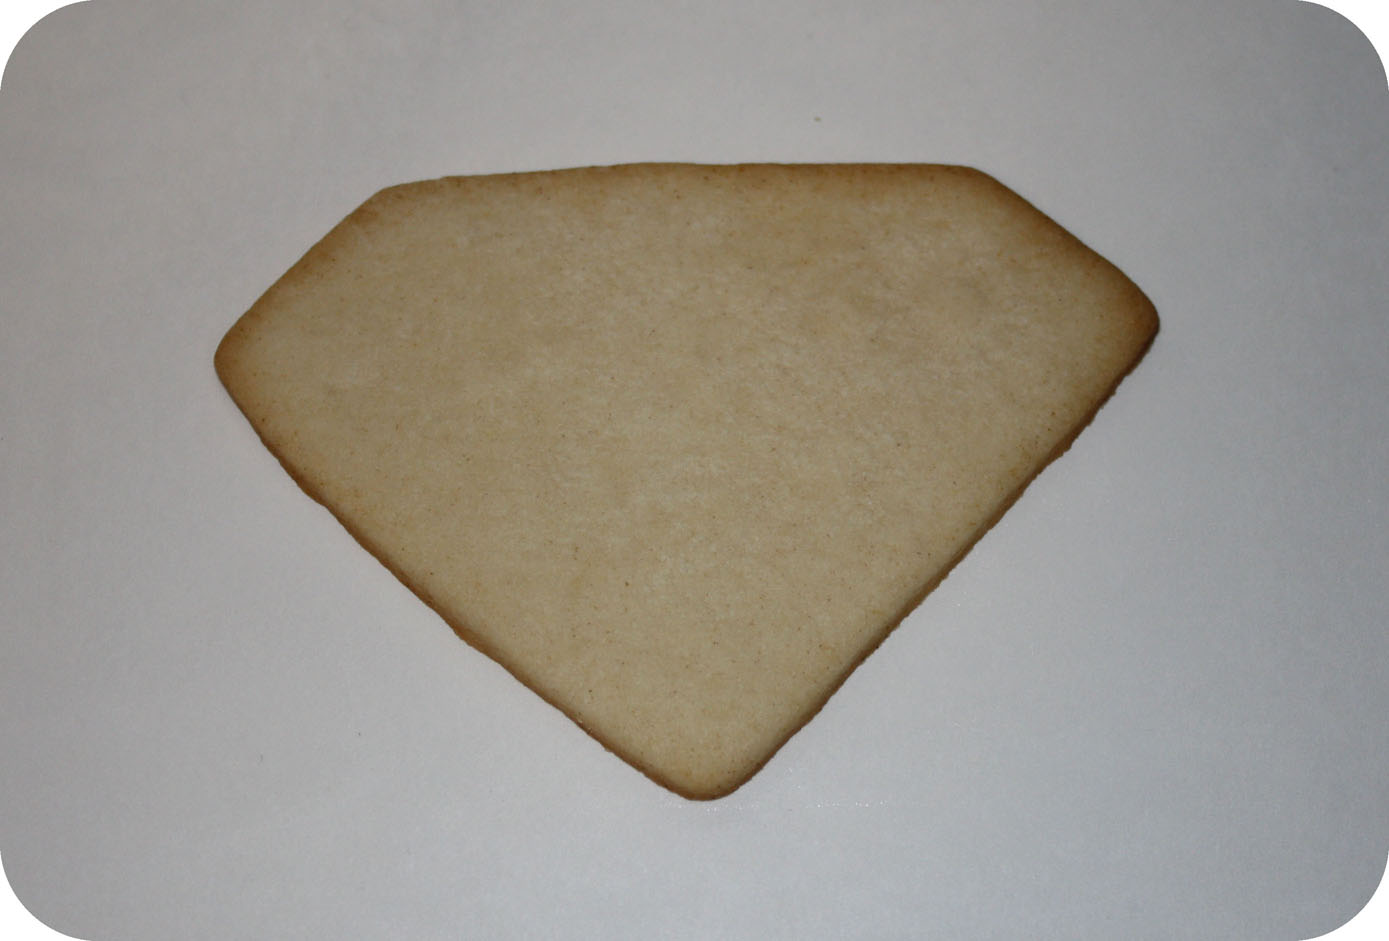
First, bake and cool your cookies.
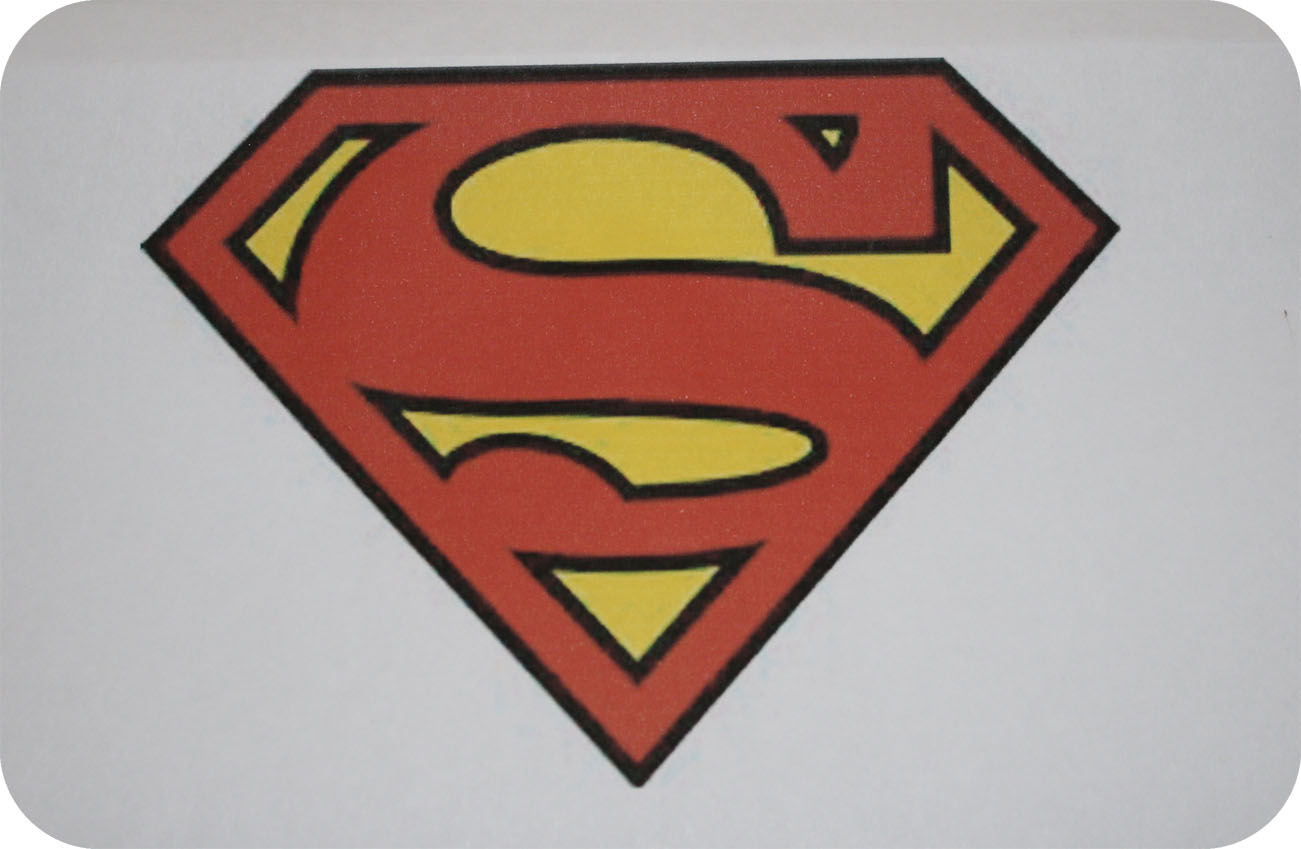
Then, find a Superman logo on the Internet, once you find the image make sure that you resize it to the size of the cookie that you are using. Next, carefully cut out only all of the yellow parts of the Superman logo and discard the rest.
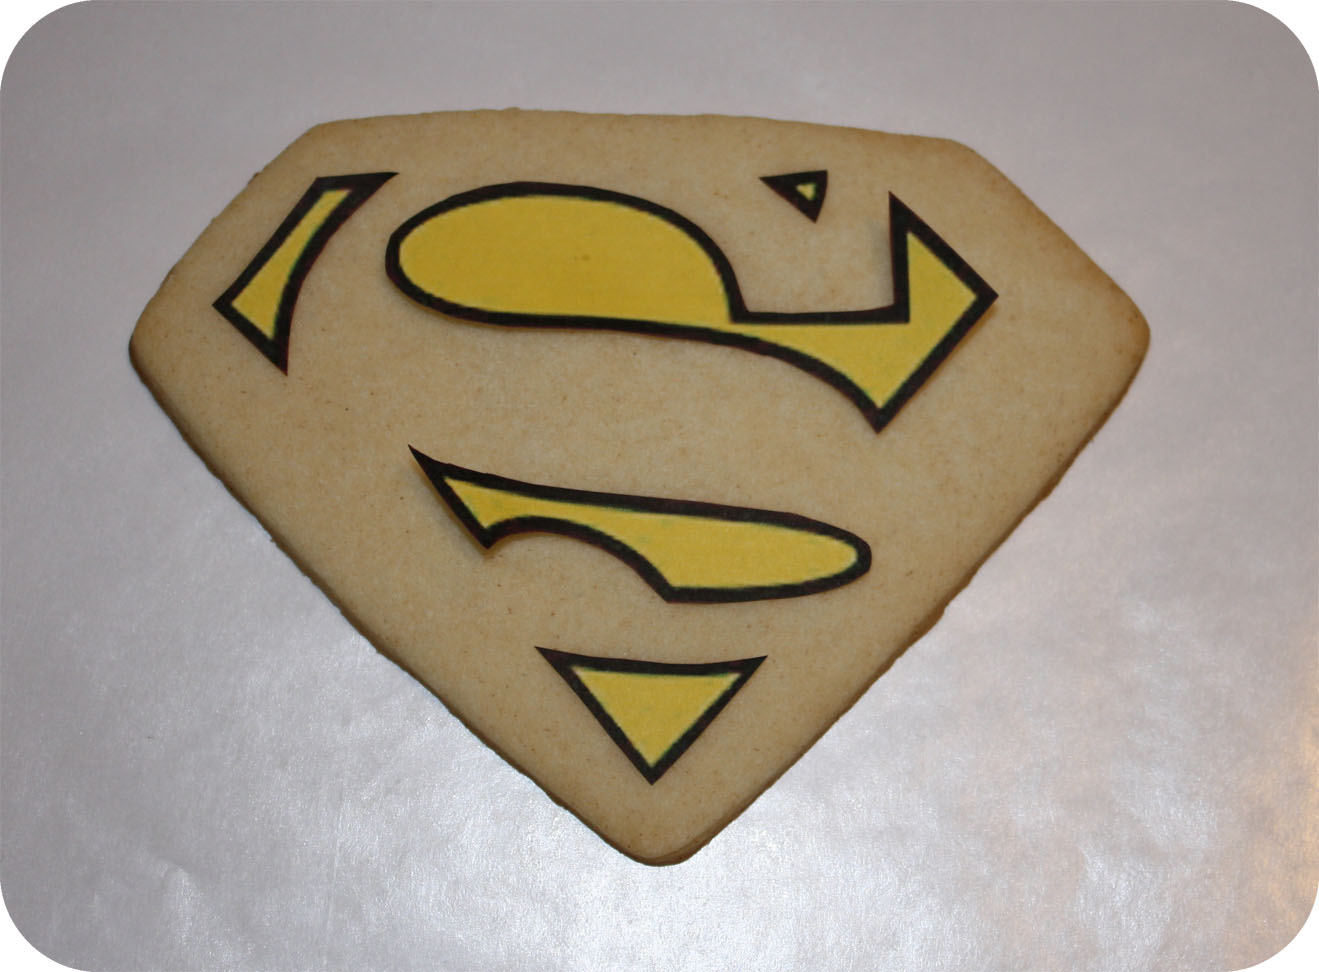
Align all the yellow pieces on top of the cookie.
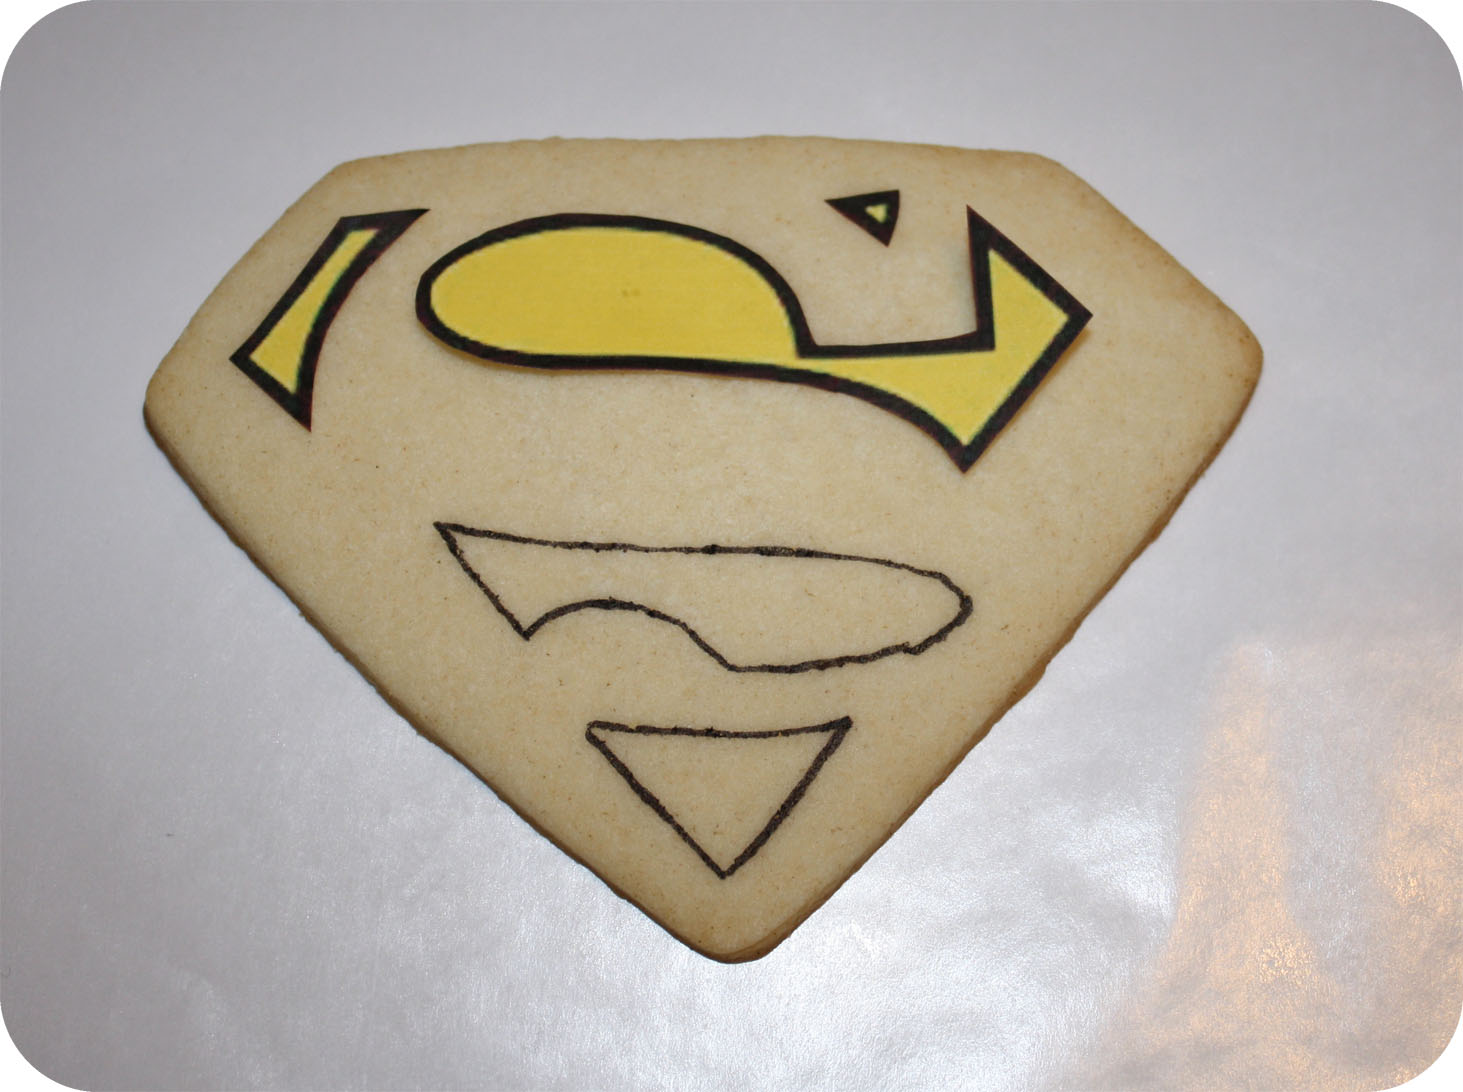
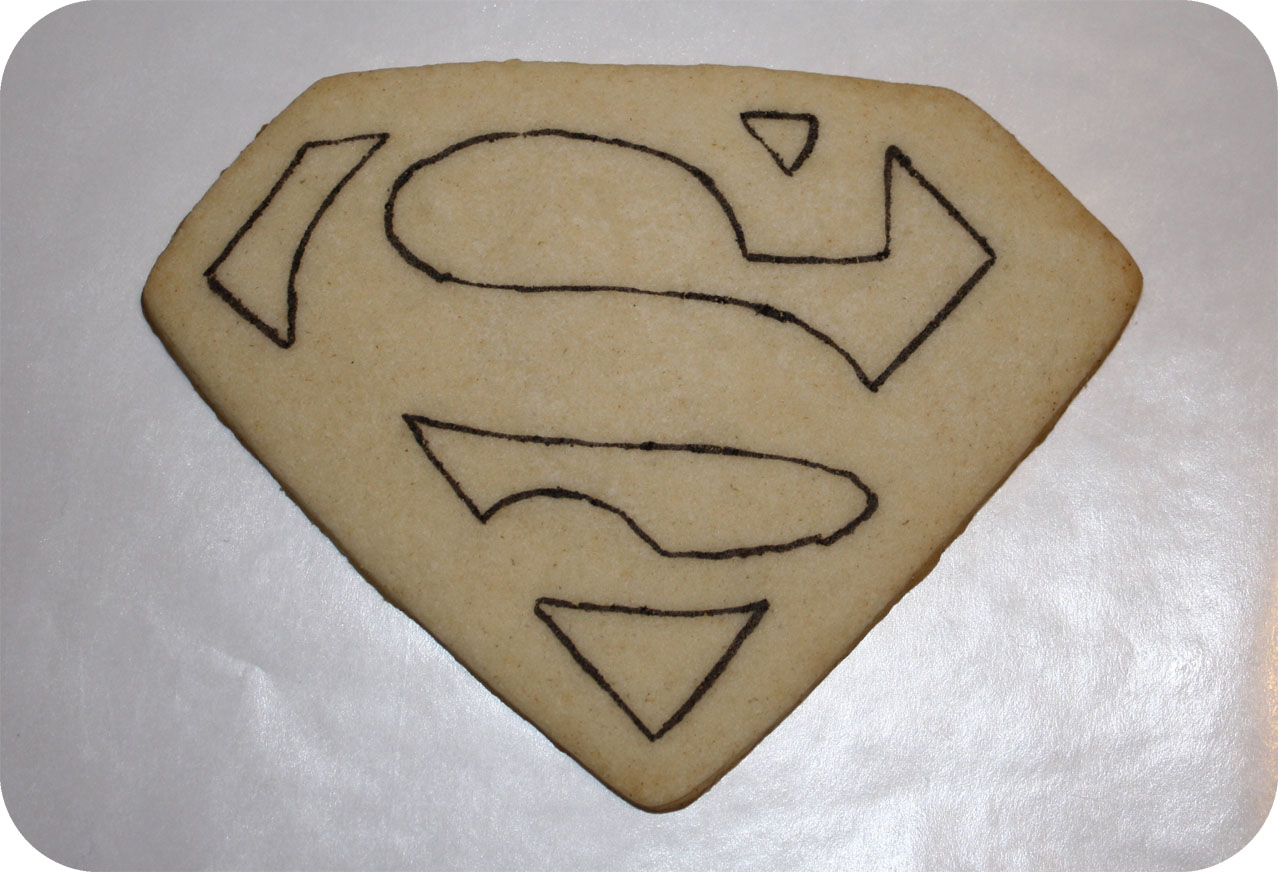
With a food decorating marker trace the yellow pieces. If you mess up don’t worry, remember that it will all be hidden away underneath the royal icing.
This is what the cookie should look like after you are done tracing all the yellow pieces.
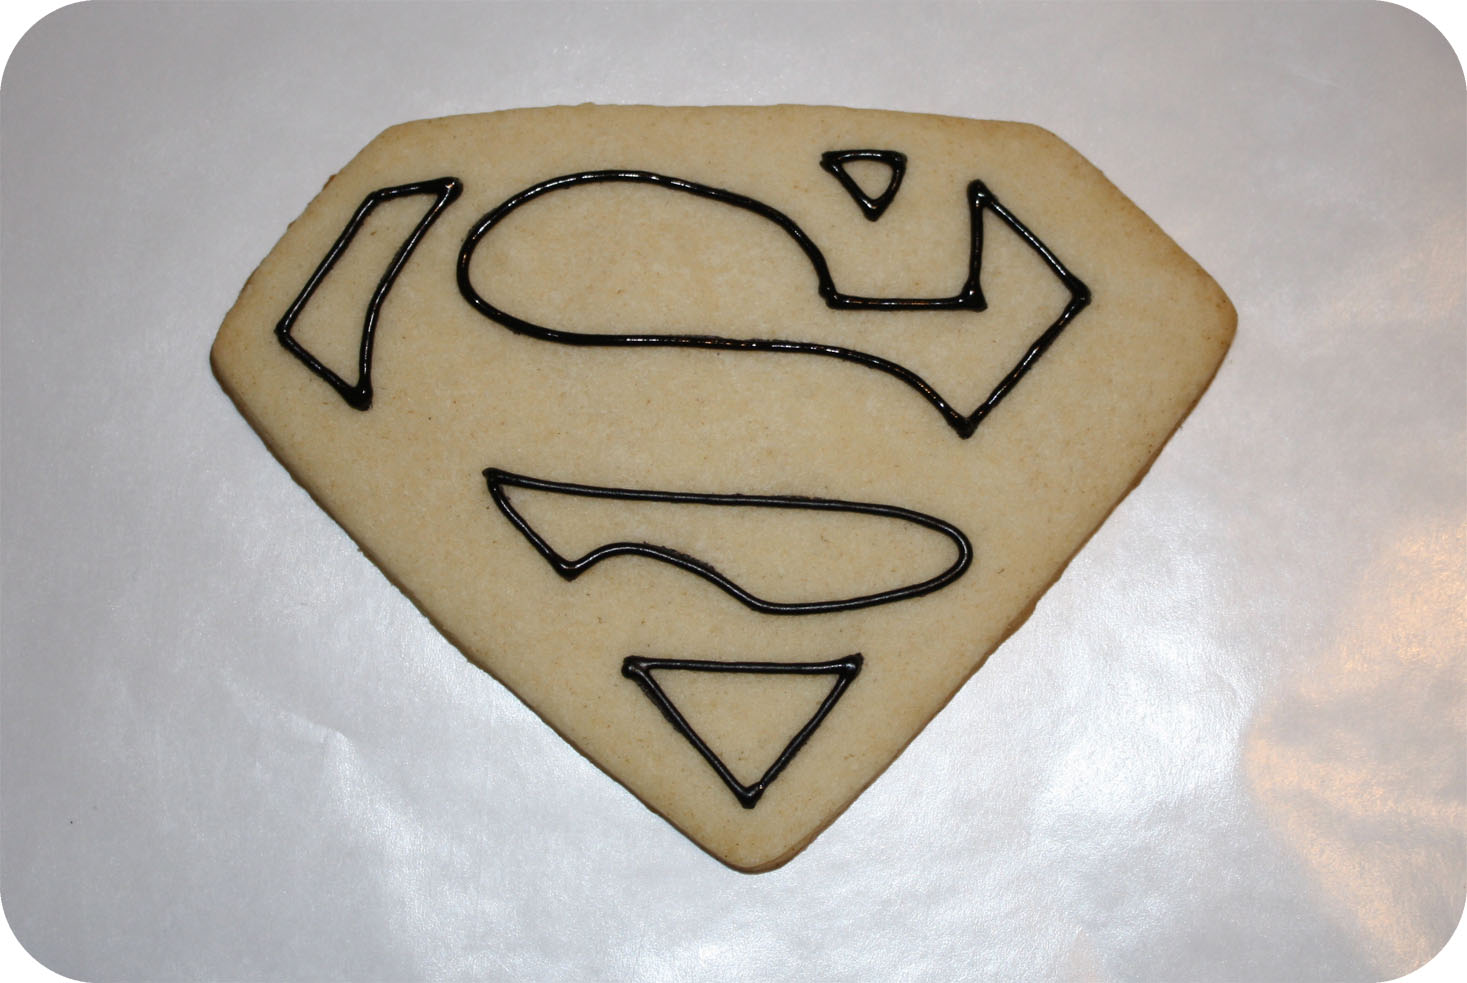
With a PME tip # 1.5 with black royal icing outline what you just finished tracing.
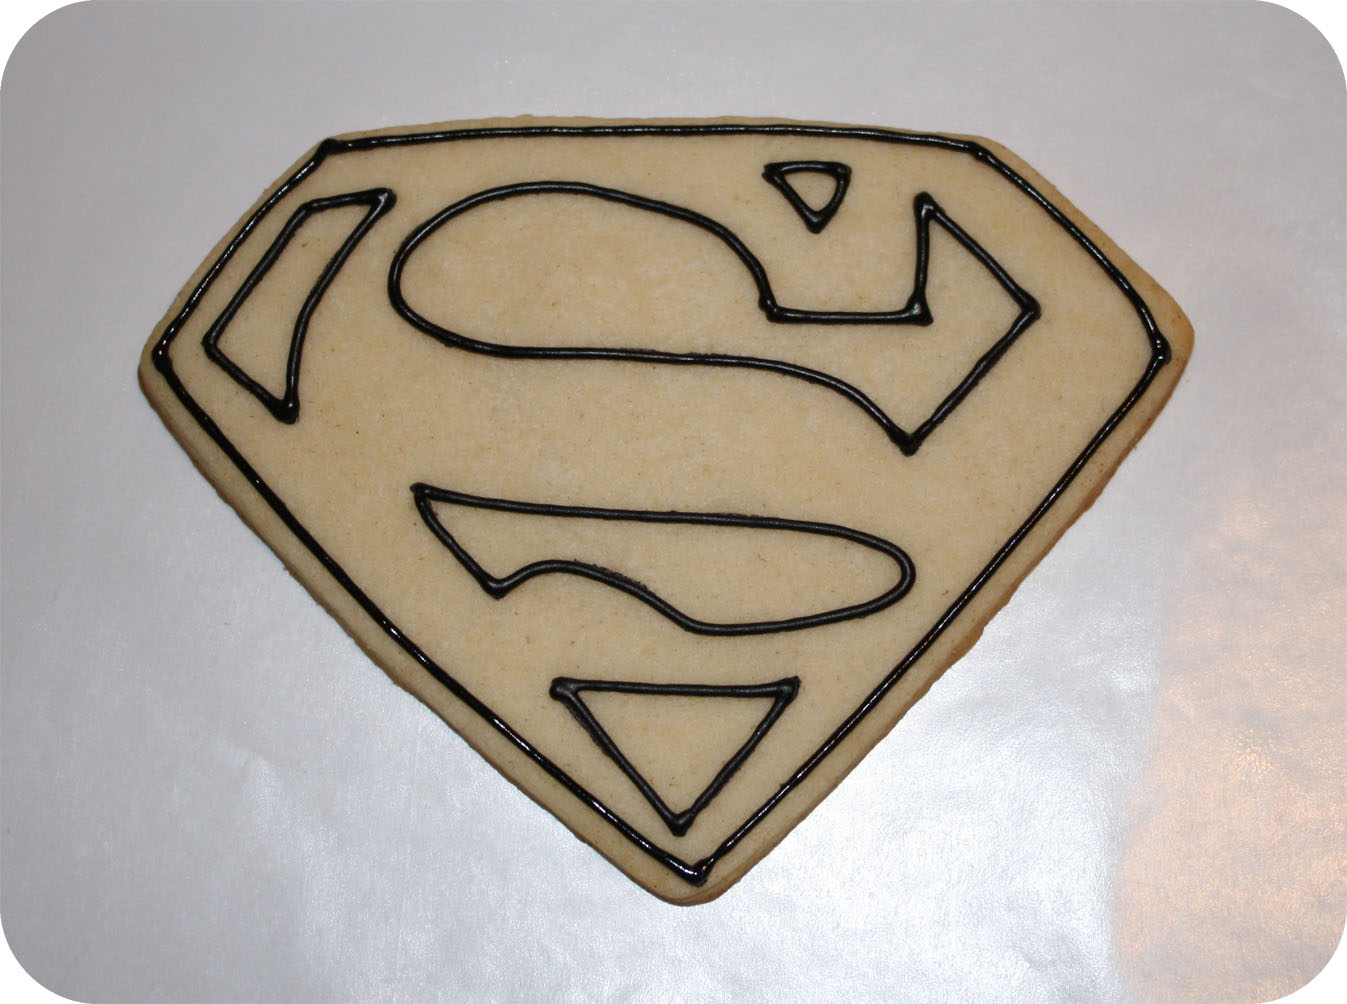
With the same tip and black royal icing outline the edge of the cookie.
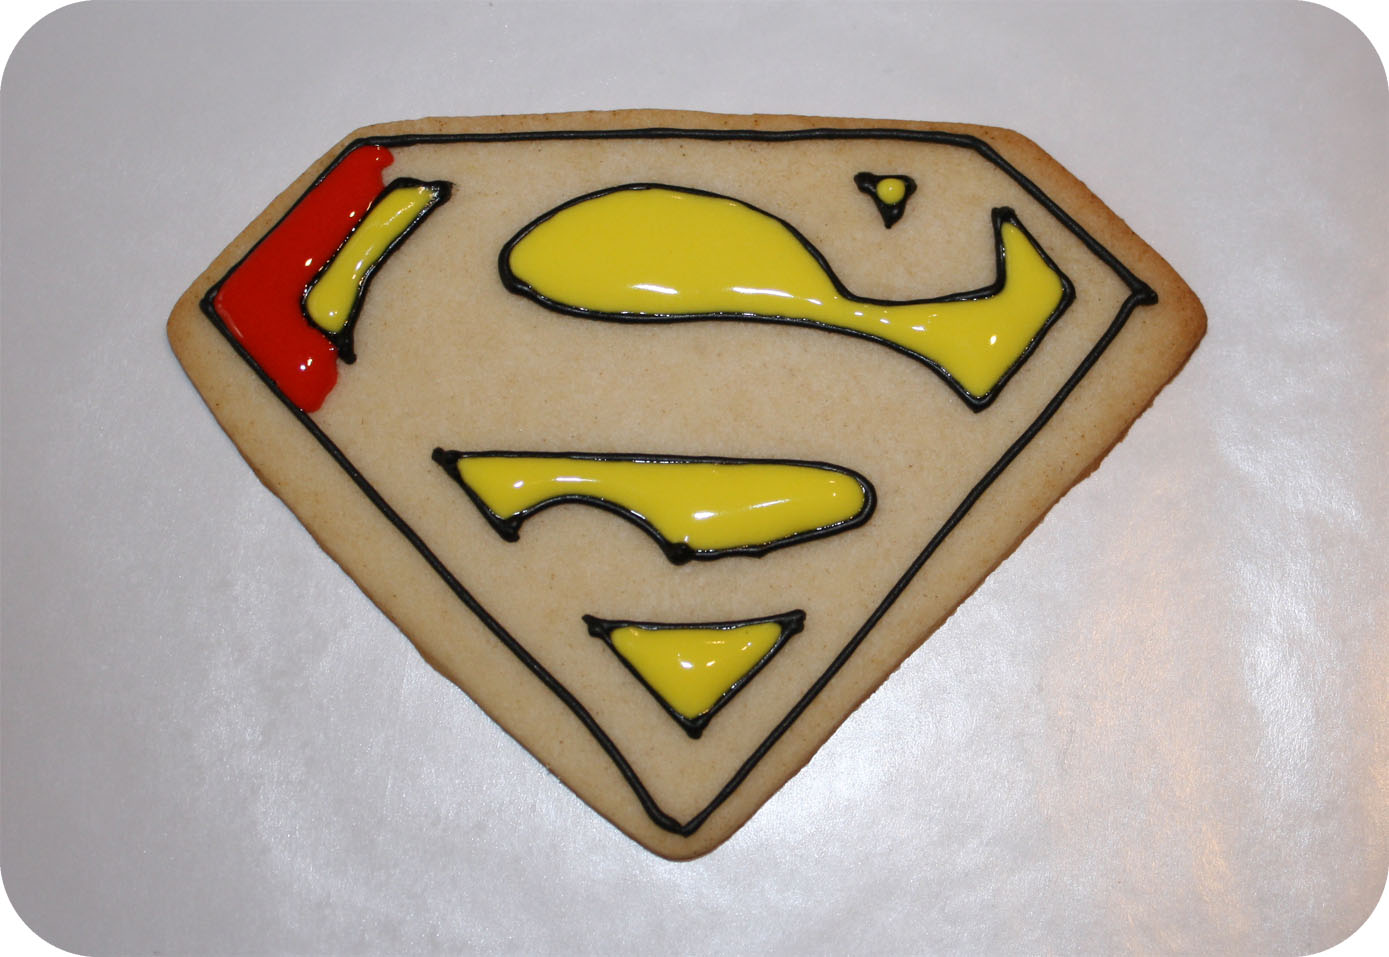
Wait about 15 – 20 minutes to let the black outline dry and then flood the cookie with yellow royal icing.
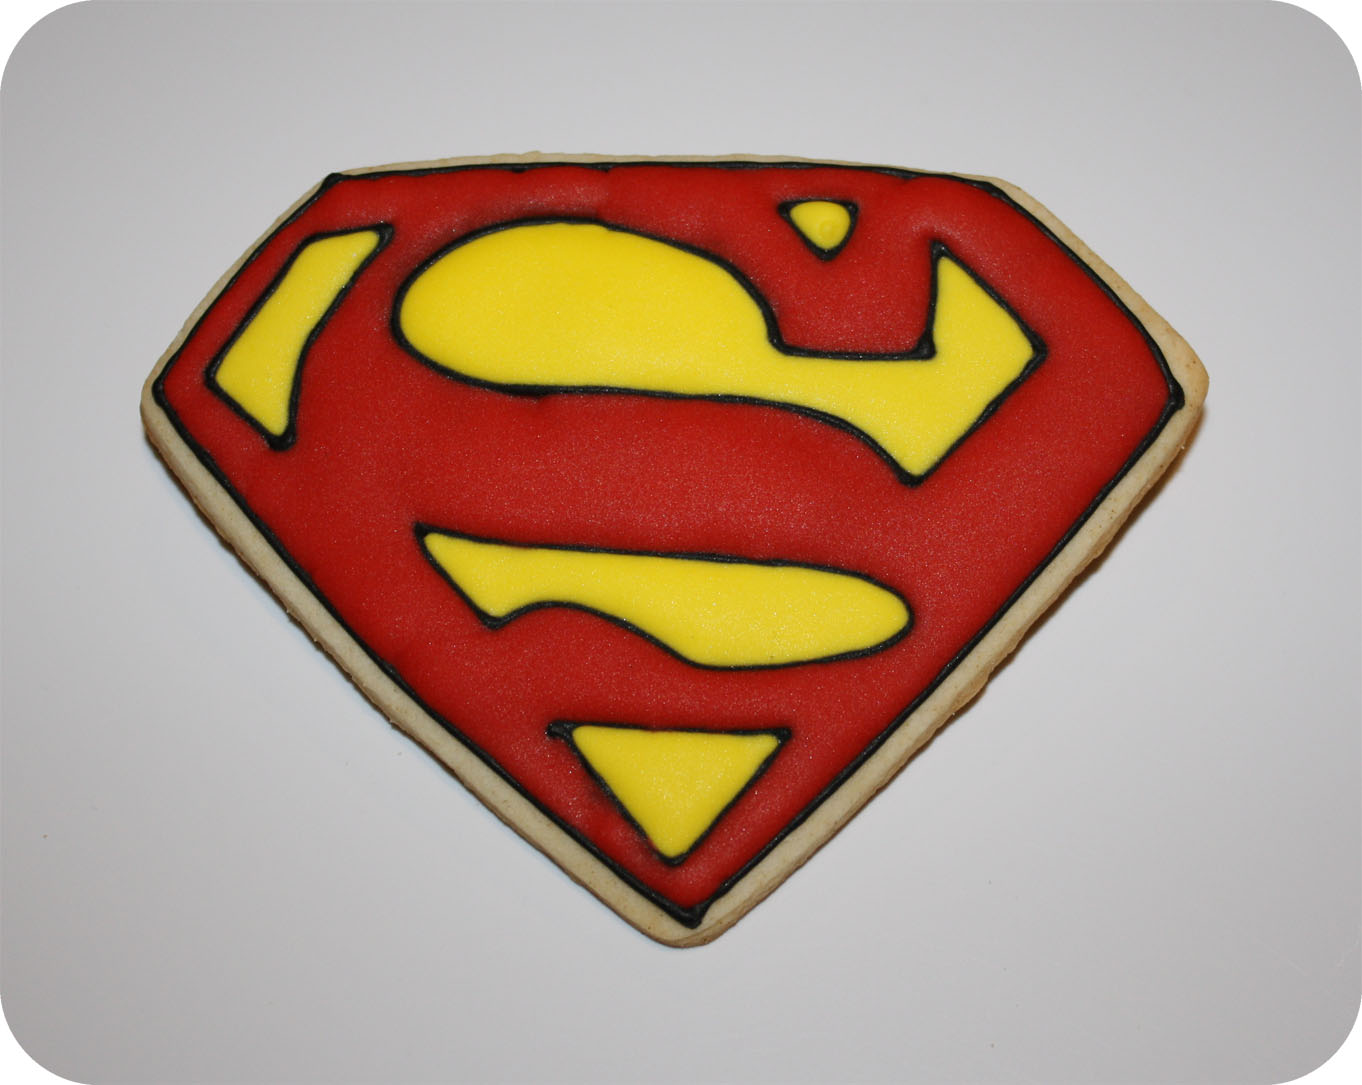
Here is the finished Superman Cookie.
I hope this tutorial helps you create wonderful Superman cookies for your next party!
Thank you for stopping by & stay sweet!


Clever Jany. I’m impressed.
I love this! We just posted our very first Kitchen Fun and Crafty Friday Link Party and we would LOVE for you to stop by and link this up! http://kitchenfunwithmy3sons.blogspot.com/2012/02/kitchen-fun-and-crafty-friday-link.html