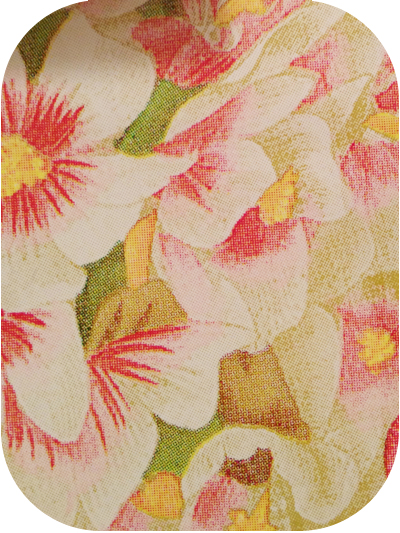
Hello everyone! Two weeks ago we celebrated my mom’s 69th birthday. Because my brother was going to be here from out of town I decided to throw a surprise birthday party for her! After looking around at different birthday party plates my sister and I decided on one that we both really liked. After that the planning started and so I decided to get a little creative and match the flowers of her birthday plates to the flower that I was going to place on top of the cupcakes.
List of items that you will need:
- Gum paste
- Peony Cutter Set
- Non-Stick silicon mat
- Edible glue
- Small rolling pin
- Styrofoam balls
- Small paint brush
- Food paint
- Ball Tool
- Foam Pad
- Freezer safe zip lock bag
Here are two pictures of what the birthday plates looked like and where the inspiration came from!


Color your gum paste and roll it out as thin as possible on a non-stick silicon mat.

Using the smallest petal cutter from the set, cut out four petals.

Store the petals that you are not working with in a freezer safe zip lock bag so that the petals don’t dry out.

Using the foam pad and the ball tool thin out the edges of the petals.


Next we are going to apply the first petals to the styrofoam ball.

Using some edible glue and a small paint brush, add the edible glue to the entire petal. Place the first petal close to the center.

Place the second petal directly across from the first petal. Its ok if the second petal overlaps a little on the first petal.

Next, place the other two petals on the opposite sides.

Add a second layer of petals on top of the first set of petals. Don’t put them directly on top of the others but in between.

Using your second smallest petal cutter from the set, cut out five petals and thin out the edges.

Now you are going to add a third layer of petals but this time you don’t want the top edges to touch the second layer.

Also the petals are now going to overlap one another.

Now we are going to let this dry out overnight or 24 hours and then we will continue to add petals.
Stay tuned for part 2!
Thank you for stopping by & stay sweet,

[…] for making the Hydrangeas. If you haven’t read my last two posts and would like to, click here to read part 1 and click here to read part 2. Before I started making the center bud of the […]