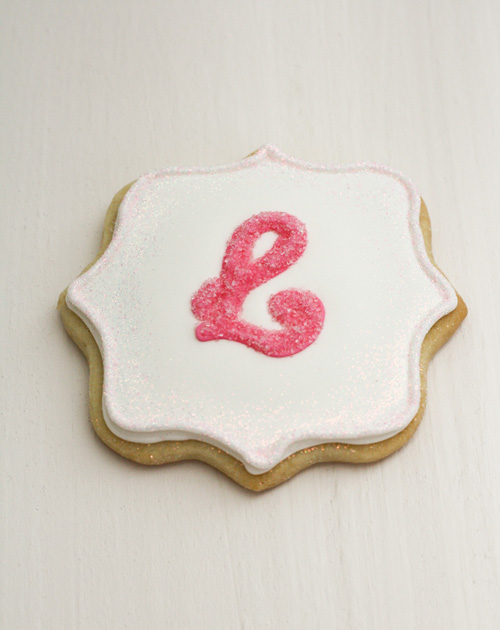
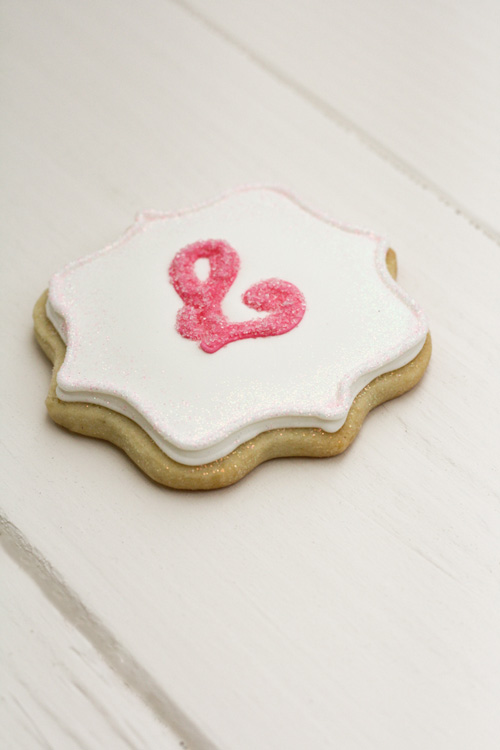
I hope everyone is having a great weekend! I got invited to the baptism of my cousin’s daughter. I had already purchased a gift but I also wanted to give her something really special made by me. So I drew up a couple of cookie sketches and off to bake I went! I envisioned that the cookies would be in a white box with a clear window. Therefore, as I was drawing up my cookie sketches I came up with three designs: a monogram cookie which would sit at the center of the box, a beautiful cookie cross and a rose flower cookie. Today I am sharing with you how to make the monogram cookie with the royal icing transfer.
Tools Needed:
- Baked Cookies
- Royal Icing
- PME Tips: #1, #1.5, #3
- Gel Color: Pink
- Icing Bag
- Wax Paper
- Borderless Cookie Sheet
- Plaque Cookie Cutter
- Light Pink Sanding Sugar
- Small Brush
- Light Pink Disco Dust
- A Print Out of the Chosen Letter on a Sheet of Paper
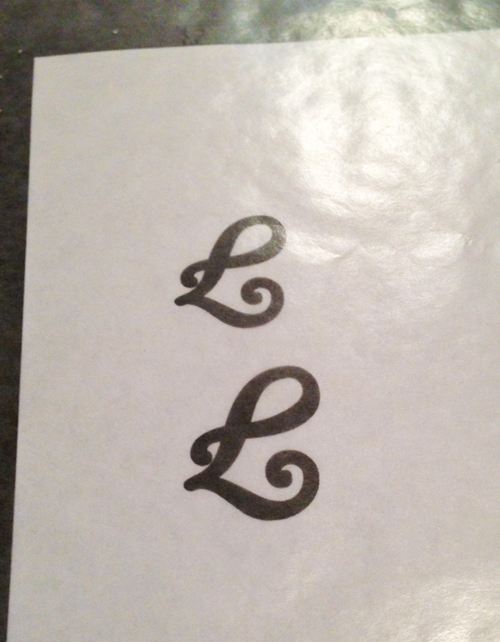
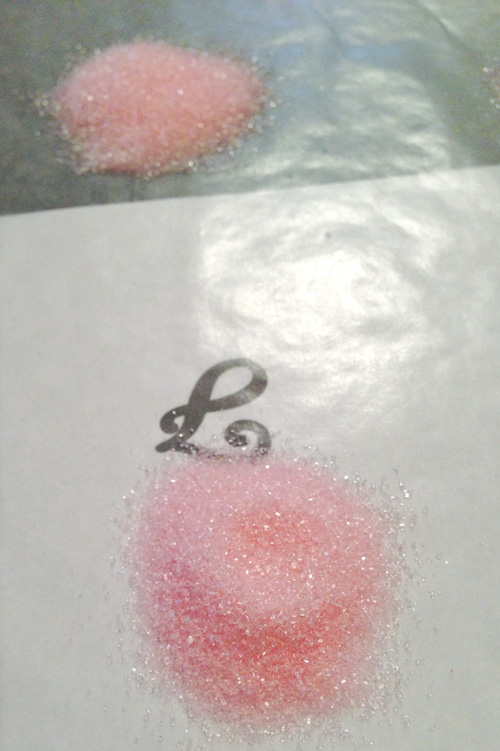
Let’s start out by making the monogram royal icing transfers. Using a borderless cookie sheet tape the four corners of your wax paper to the cookie sheet. Most people like to print the monogram letter over and over again. I feel that’s a waste of my precious and expensive ink therefore I just like to print out the letter once and move my paper around. As you can tell in the picture below I printed out the monogram letter in two different sizes. I decided to use the bigger one as it would fit better on the cookie. Using stiff royal icing add a small amount of pink gel color, mix well with a small spatula. Add your pink royal icing to your icing bag that is fitted with a PME tip #1.
Tip: Royal icing transfers brake easily therefore always make more letters than you will need.
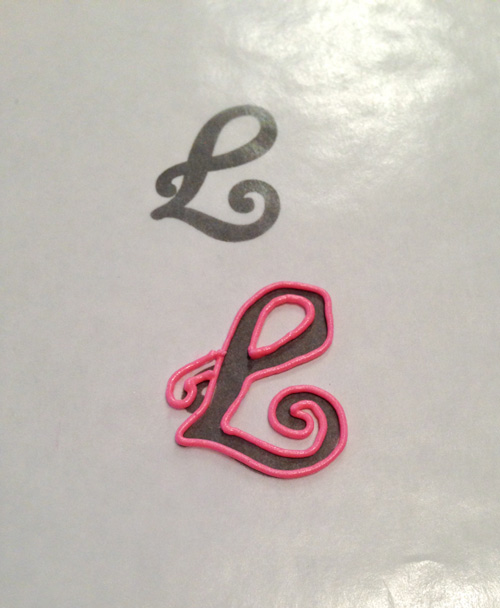
Trace the monogram letter with the stiff pink royal icing.
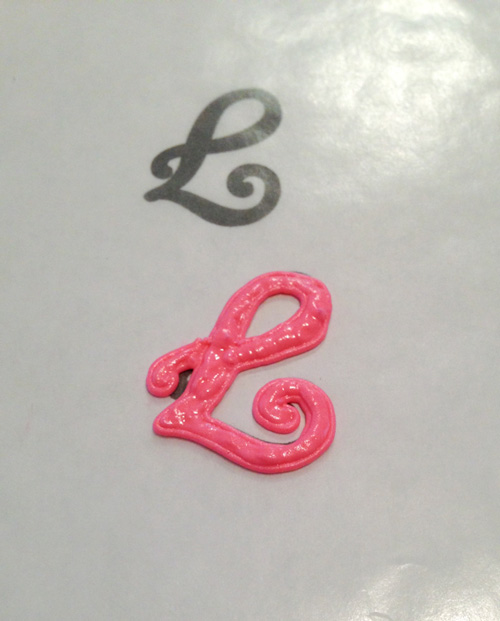
Because I was applying sanding sugar to my monogram letters I used the same stiff royal icing to fill in the letter. If you are not applying sanding sugar fill your letters with a medium consistency royal icing to achieve a smoother look.
With a small spoon cover your monogram letter with light pink sanding sugar. Wait about 20-30 minutes and then gently remove the sanding sugar off your monograms.
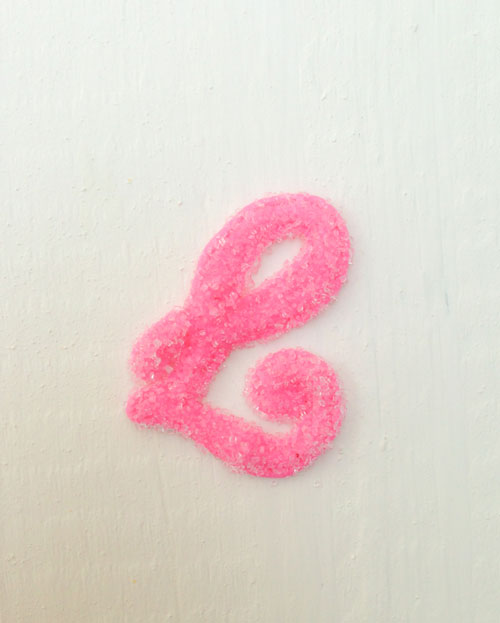
With a small stiff brush remove the excess sanding sugar off the sides of the monogram so that the letter retains its shape. Let the letters dry 6-12 hours before you remove the wax paper off the back.
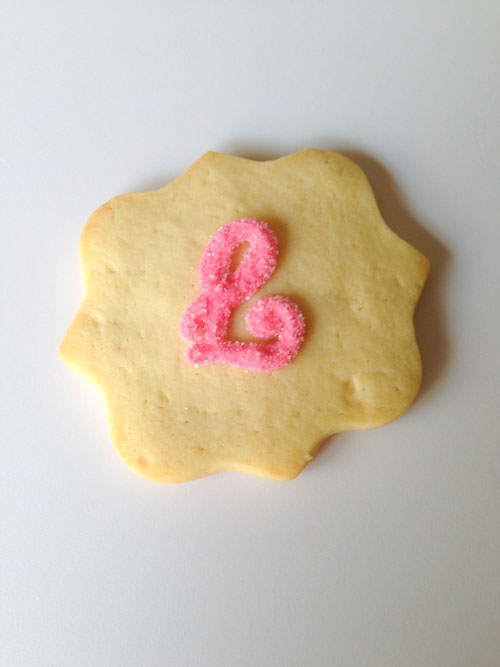
Once the letters have dried I like to practice the position of the monogram on an un-iced cookie so that I know exactly how to place it on the final flooded cookie. Remember, you only have one shot to place the monogram on the wet royal icing! So you want to make sure you know exactly where to position the monogram.
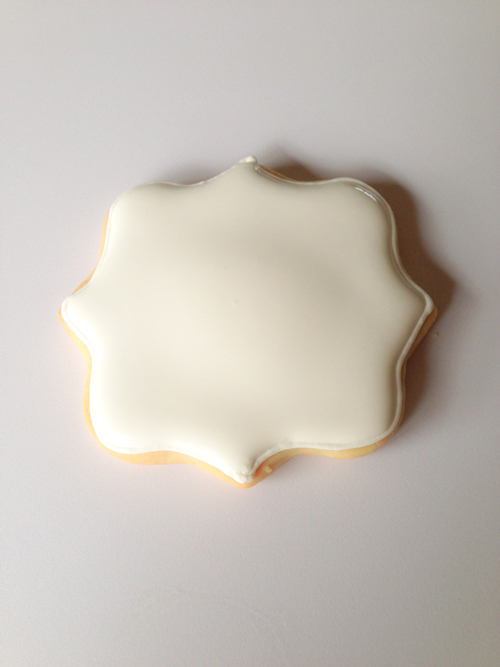
Once you know where to place your monogram outline the plaque cookie with stiff white royal icing using a PME tip #1.5.
Tip: I like to add super white coloring to my royal icing to make it look even whiter!
Next, lets fill our cookies with flood consistency royal icing using a PME tip #3.
Now carefully place your monogram onto your cookie.
Wait about 1-2 hours and outline the cookie. Add disco dust to the outline and inward from the outline to create a sparkly effect! Have I ever told you guys how much I love disco dust!
Let the cookie dry out for 24 hours. Carefully shake off your excess disco dust and your monogram cookies are completed!
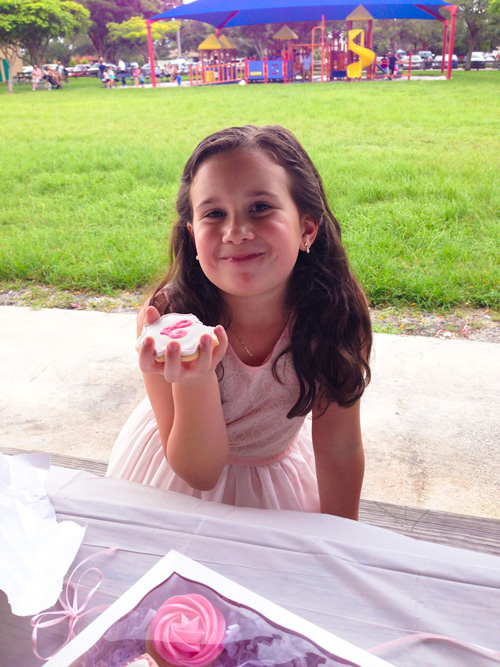
And what better way to show me how much she loved her gift than by eating the cookies right away! The smile on her face was priceless! If you take a close look at the picture you will see what is coming up later this week to the blog!
Thank you for stoping by!
Stay sweet,



[…] to the Baptism cookie set. If you want to read the first part of the Baptism cookie set check out How to Make Monogram Cookies with Royal Icing Transfers. These rose cookies were so much fun to make! Not only were they fun but so incredibly easy! I […]