Happy Easter! I want to share with you a set of stenciled Easter cookies that I made with royal icing! I am going to box them up and send them home with everyone that is invited to our Easter brunch! These will be such a nice surprise to open up once everyone is home.

Tools Needed:
- Baked Cookies
- Royal Icing
- Cookie Cutter of your choice
- Tipless Piping Bags
- Various Gel Colors
- Stencil
Directions:
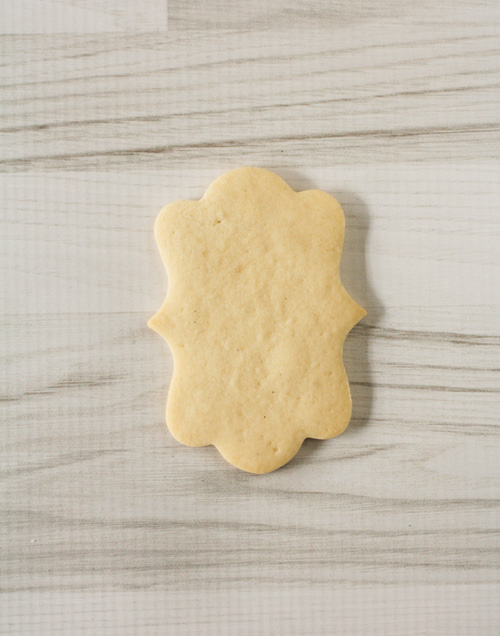
Bake and cool your cookies.
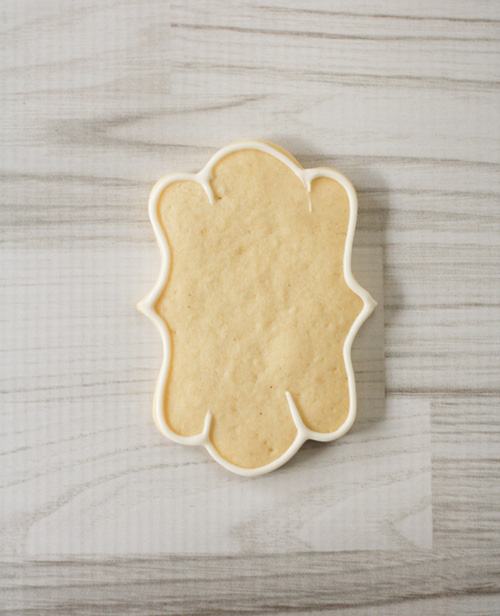
Use a tipless piping bag, fill it with medium consistency royal icing and outline your cookies.
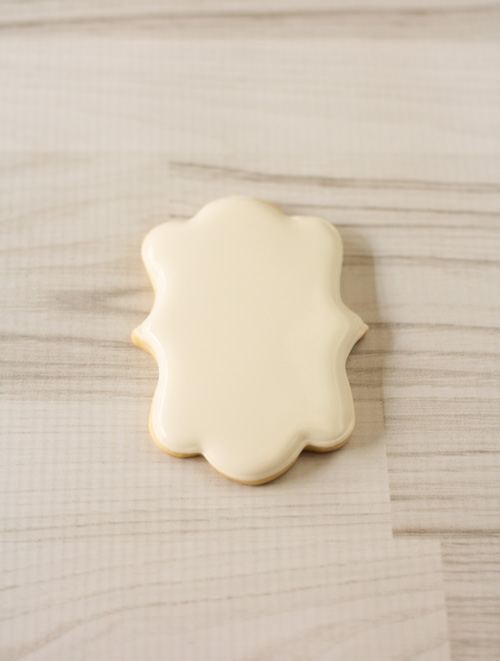
Next, using flood consistency royal icing of the same color, flood your cookies. Let your cookies dry out for 24 hours.
Choose your stencil and bring out your stencil scraper!
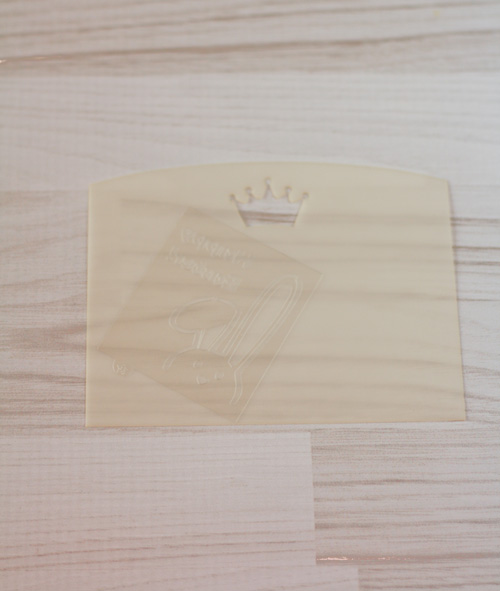
I like to center my stencil over the cookie so that I get an idea where the image will appear once it’s stenciled.
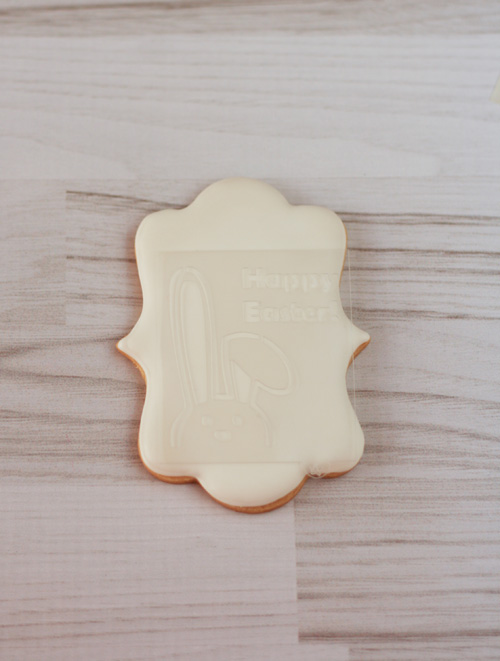
Now add some thick consistency royal icing to your stencil scraper. Starting at the top of the cookie apply a thin but even coat of royal icing to the cookie.
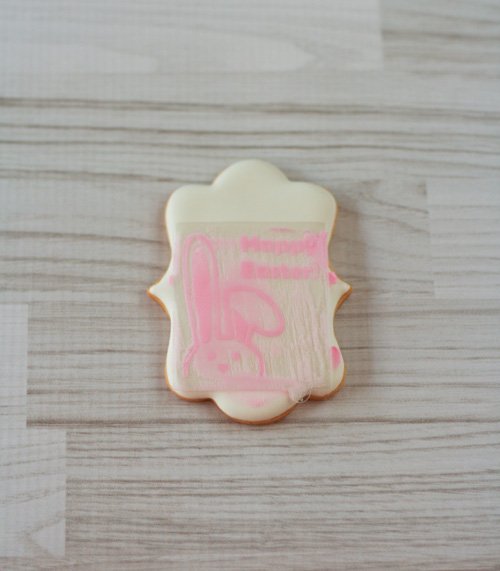
Carefully lift the stencil off your cookie. Don’t worry if you have some extra royal icing in unwanted places! These small pieces of royal icing can be removed with a damp paper towel.

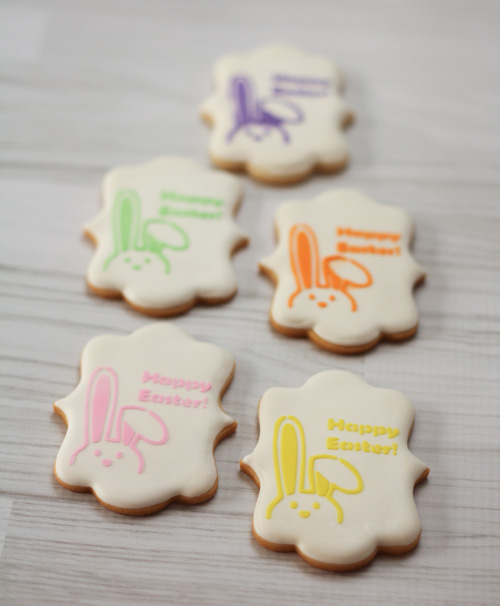
And here you have the completed set! I made sure to make them in bright spring colors!
I hope you have enjoyed this tutorial!

But mostly I hope you have enjoyed your Easter celebration!

XO,

Leave a Comment