Hi everyone!
I hope you all are having a fabulous spring and for most of you hopefully the weather is starting to warm up! Here in Miami it has been beautiful and we had an amazing second Easter with our daughter. She actually received tons of chocolate for Easter but she’s only 1 and doesn’t eat much chocolate…for now. So after stuffing my face with her left over chocolates all weekend, I thought this would be an appropriate post!
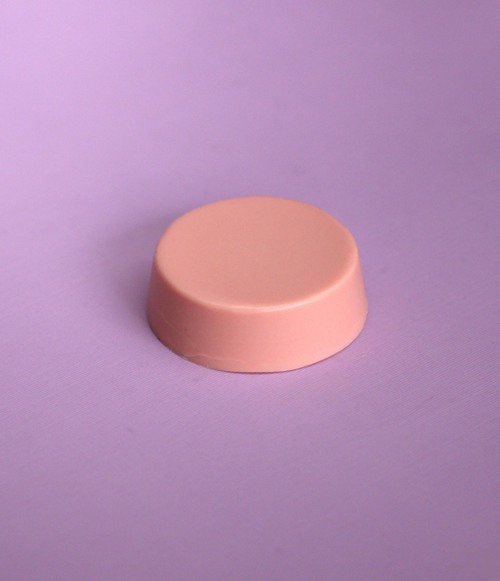
I have made Chocolate Covered Oreos before but I have struggled to get nice flat bottoms on them. But after much trial and error I finally figured out a way to make my Oreos nice and perfect! The secret is using a spoon and a few taps, I’ll tell you more it in the directions later.
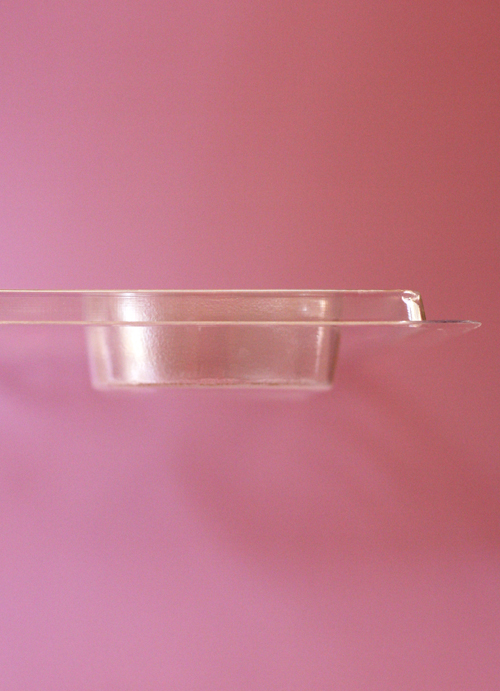
But for now, let me share with you another very important tip: Not all molds are created equal!
I remember when I purchased my first Oreo mold the cavities were deep and they required extra melted chocolate, which made the Chocolate Covered Oreos overwhelmingly sweet. I finally found a mold with cavities that weren’t as deep and the Chocolate Covered Oreos now have the perfect amount of chocolate!
Tools Needed:
- Oreo Cookies
- Oreo Mold
- Guittard Apeels
- Small Microwave safe bowl
- Tipless Piping Bag
- Spoon
Directions:
Let’s start by melting our chocolate!
Place the Guittard Apeels in a small microwave safe bowl and microwave the chocolate for 30 seconds. Take the bowl out of the microwave and stir the chocolate very well. The more you stir the more you will see how much of the chocolate has melted. If all of the chocolate has not melted place the bowl back in the microwave for another 15 seconds and then remove it and stir it well. Continue to do this until all of your chocolate has melted. Please be careful and remember to stir well after each time. Chocolate retains its temperature and can easily burn!
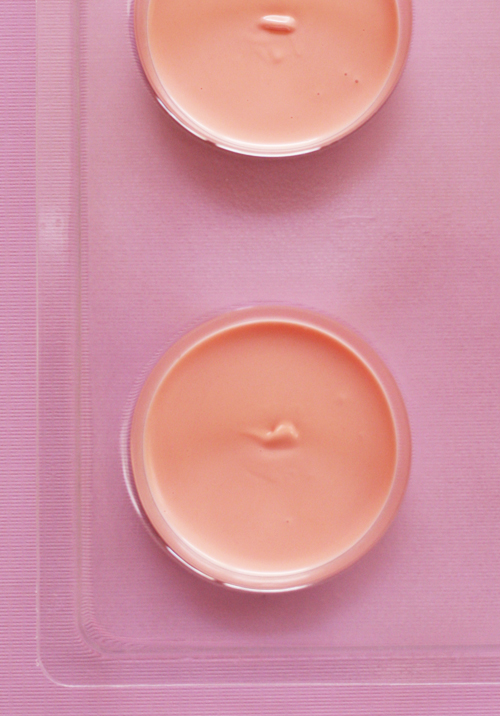
Next, place a spoon full of chocolate into each of the Oreo cavities and give the mold a few good taps against the countertop surface. Giving it a few good taps ensures that all of the bubbles will rise to the top and also spreads out the chocolate to create a smooth flat surface.
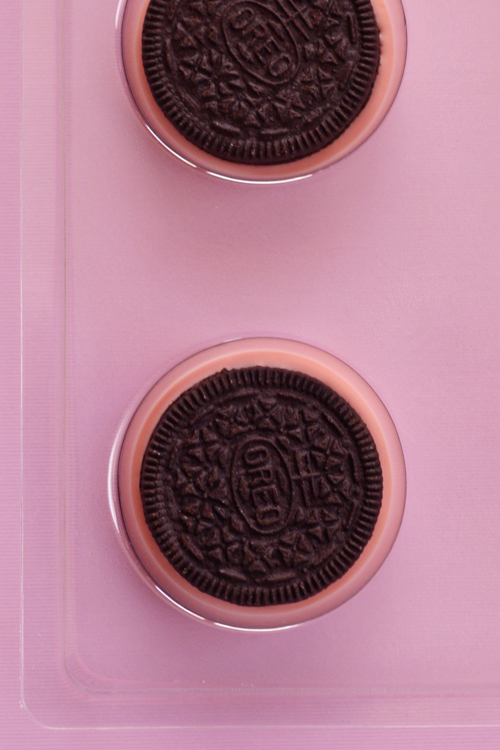
Now, carefully center the Oreo cookies in the Oreo mold cavities. Place the mold in the refrigerator for 10 – 15 minutes so that the chocolate hardens and adheres to the Oreo cookies.
In the meantime, add some melted chocolate to a tipless piping bag. I love these tipless bags because they are inexpensive and you can just toss them when you are done.
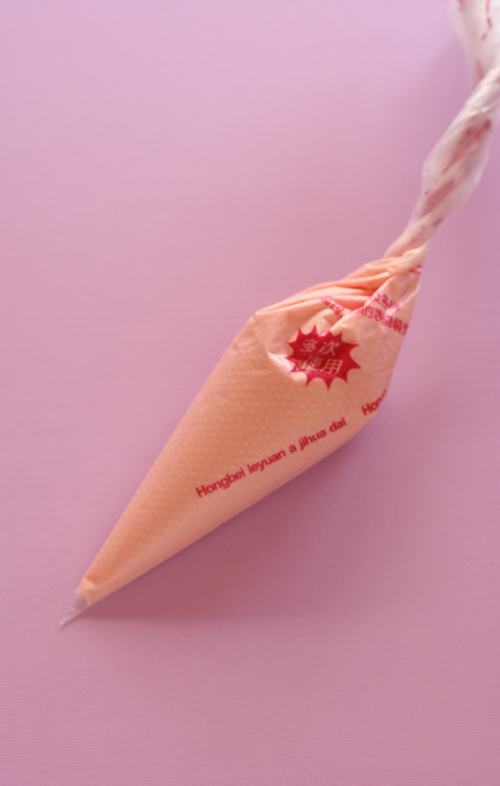
Once the chocolate has hardened, insert the tip of the tipless piping bag into the gap where the mold and the Oreo cookie meet. Softly squeeze out the chocolate and move your hand in a clockwise motion around the cookie so that you fill in the gap between the cookie and the mold.
Now that the chocolate is all filled in, place the mold back in the refrigerator for 10 minutes so that the chocolate hardens. As you can see from the image below you don’t really need a lot of chocolate because it’s a small space that you are covering.
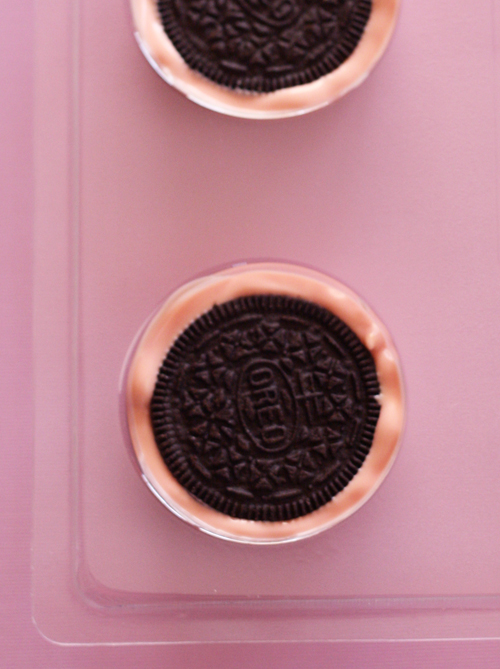
Once again take the mold out of the refrigerator and with a small spoon, scoop some melted chocolate and pour it over the bottom of the Oreo cookie. Then, use the spoon to spread the melted chocolate. Start at the outer edges of the mold then do the center. If you need additional chocolate add some more and continue to spread the chocolate to create an even coverage.
And now the secret to Chocolate Covered Oreos with perfectly flat bottoms…
With the back of the spoon give the melted chocolate a few light taps. This simple trick will create a perfectly even base. Your friends will think you own a bakery!
Tip: Remember less is more! It’s always easier to add chocolate than to remove it.
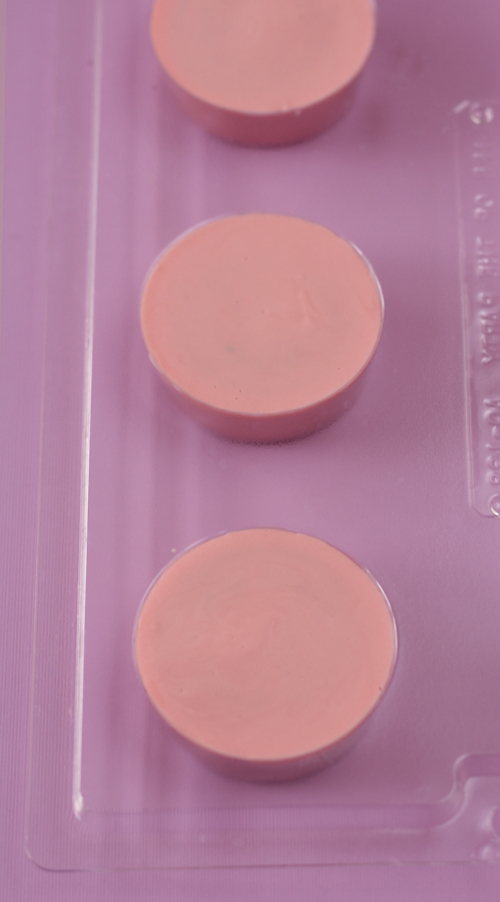
One last time, place the mold back in the refrigerator this time for 30 minutes so that the chocolate completely hardens.
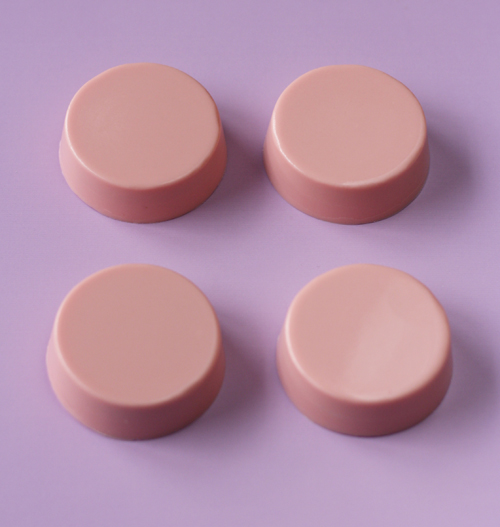
To unmold your finished Chocolate Covered Oreos, gently push the bottom of each of the cavities upwards one at a time. This will loosen them up so that you can invert them onto a cookie sheet all at once.
IMPORTANT: Make sure you are alone when you do this because if anyone sees these things appear they will be gone before you even get a nibble!
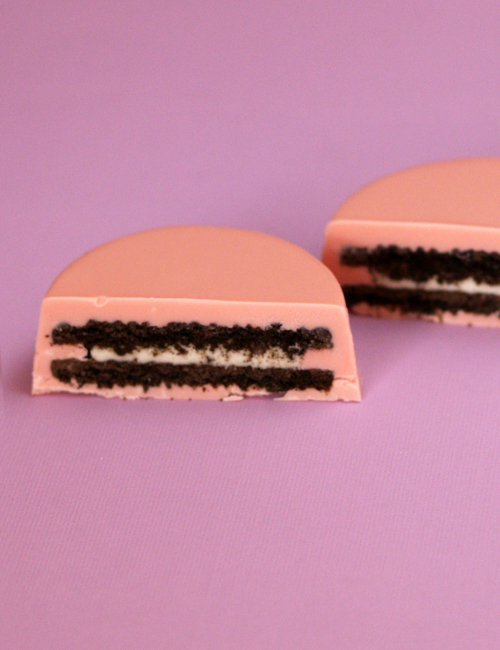
I hope you have enjoyed this tutorial as much as I have enjoyed making it for you guys!
XO,

Curious as to which CCO molds you used and where you purchased them from. I too like less chocolate. Thank you!
Hi Tammy! I purchased the Oreo mold from Lavender’s Bake Shop. If you click on this link it will take you directly to the mold https://www.lavendersbakeshop.com/collections/chocolate-molds/products/oreo-molds. Let me know if I can help you with anything else.
Thank you !!!!
Does allowing the candy to harden between steps leave creases/lines in the hardened candy? or does it somehow dry smooth?
Hi Christina!
That’s a great question! It doesn’t leave any creases/lines when you allow the chocolate to harden between steps. The reason why I harden the chocolate in stages is so that the cookie doesn’t move around with the hot chocolate. Let me know if you have any other questions.
Where do you get your chocolates and what do you use to color them? Can you airbrush chocolate??
Hi Kelsey! I buy my chocolate from Busy Bakers you can click on the link below to take you to their page. http://busybakerssupplies.com/product-category/meltingchocolate/. My preferred chocolate brand is Guittard. The taste is amazing. Guittard comes in different colors (pink, red, orange, yellow, green, white and chocolate).
When I want to mix my own color I use Chefmaster Oil Candy Colors to color my chocolate you can purchase them from here too http://busybakerssupplies.com/product/oil-candy-color-chefmaster/.
Let me know if you have any other questions.
Thanks!
Jany
How many bags of chocolates for a whole pack of cookies?
Hi Amber!
I have to be completely honest with you I have never done an entire bag of Oreo’s. I only do the small 6 packs because that is all I have ever needed for my daughters birthday parties.
This is an excellent tutorial. I used the molds for the first time over the holidays and I wondered if the process couldn’t be done in stages as you have done. Keeping the Oreos centered in the mold was very difficult. I’m going to give your process a try next time.
Hi Lisa!
Thank you! That would happen to me as well! I couldn’t keep the cookies centered in the mold. But one day I decided to do them in stages and it worked really well. This is my preferred method now. I hope it worked for you as well.
How many days in advance can you make them?
If you encase the cookie completely in the chocolate you can do them up to 1 week in advance. The chocolate acts as a protective barrier and it won’t let the cookie get stale. Hope this helps!
Hello, how far in advance can the cookies be done?
If you encase the cookie completely in the chocolate you can do them up to 1 week in advance. The chocolate acts as a protective barrier and it won’t let the cookie get stale. Hope this helps!
Do I have to leave it refrigerated after making them and before giving them out if done a week before?
Nope, I do mine for my daughters birthday one week in advance and they are fine.
How long can you keep them in the refrigerator. Just saying bc i want to make them ahead of time before a party or does it matter
I make mine one week in advance of my daughters birthday and leave them at room temperature.
Can you make them in a small muffin tin??
I haven’t tried making them in muffin tins.
Hi there. Great tutorial! My question is whether you are using chocolate or candy melts. If chocolate are you tempering first?
Thank you!
Candy melts.
Can the cookie pop sticks be added or how can I do this for cookie pop oreos?
There is a different mold for oreo cookie pops.
Can the cookies be done a head than frozen ?
I would not freeze the cookies.
Do you add anything to your chocolate?
If the chocolate gets a little thick I add paramount crystals to make it runny.
I have had problem where my oreos just get completly stuck! Help
Can you explain a little more so I can help?
Do add th paramount crystals to the chocolate?
Yes I add a little paramount crystals to the chocolate if my chocolate is not runny enough.
Can I make these a month in advance for a Communion party? Maybe keep in frig?
I am afraid they will get soggy? How far in advance can I make them?
I would only make them one week in advance.
What is the best way to store the cookies? Room temp or frig?
I am afraid they will get soggy? How far in advance can I make them?
Room temperature is the best way to store the cookies. I make them one week in advance.
Can they be frozen ?
They can not be frozen.
Do you store them in an airtight container at room temperature?
Yes, I do store them in an air tight container at room temperature.
Can they be airbrushed?
Yes, but make sure it’s alcohol base not water base! Chocolate and water don’t mix!
Oreo Cake is a moist chocolate cake layered with buttercream frosting that’s blended with Oreo cookie crumbs. It’s easy to make and really tasty.
I have to try that! Sounds great!
Hi! How did you slice them cleanly? Any special knife or tricks? Thanks!
A very sharp knife!
When you say to give the melted chocolate a few taps with the back of the spoon, are you tapping directly on the chocolate or the side of the mold??
Directly on the chocolate to even it out. Very lightly.
Hi my name is Pat. I’m getting ready to make these for a baby shower. I have everything for making them. I’m confused about the tapping method. I do this after I put the last of the melted chocolate on the cookies?
Yes, after you place the last melted chocolate on the cookies then I do the tapping method. I hope this helps!
I dipped my Oreo cookies and they looked great!
I put them in a tubberware container and put them on the refrigerator, two days later the chocolate seized!! They look terrible now. Can this be fixed ?
They are for a first holt communion 😟
I never put my Oreo’s in the refrigerator. That causes condensation when you take them out and could even cause mold. I place mine in a card box like the ones they give you at a bakery. I hope this helps! Please let me know if you have any other questions.
Do you add anything to the chocolate so the it pipes nicely? If the chocolate hardens in the bag. Can I microwave in the bag? Also any tips for piping a Cresent moon on the top? Would you use chocolate or royal icing? Thank you!!
Hi Julie,
I like to add some Paramount Crystals to thin my chocolate and it also makes it smooth. I don’t microwave my chocolate in the bag but I know some people do. If you pipe Cresent moon’s I would use parchment paper do them there once the chocolate has harden I would then transfer them to the Oreo’s attached them to the Oreo’s with two dots of chocolate. I hope this helps! Let me know if you have any other questions.